Hey all! It’s early April 2025 and we’re on the verge of the Tarkir: Dragonstorm release. Wizards of the Coast is releasing 5 new precons, one for each of the 5 clans on Tarkir. One of these clans, the Sultai, uses self-milling and reanimator strategies in their struggle for victory. Their precon, Sultai Arisen, has many new and classic cards that both enable and pay off these strategies.
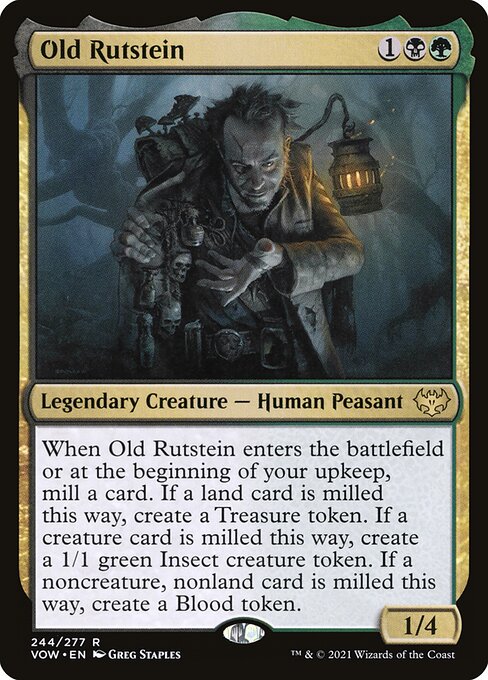
Old Rutstein, while not being Sultai, is a Golgari commander that employs many of these same themes in his quest for victory. Whether you’re here to read about Old Rutstein, searching for upgrades for your Sultai Arisen deck, or just curious about Self mill/reanimator themes, today’s article is packed with fun cards to explore.
You can find a full decklist here: https://archidekt.com/decks/12292510/old_rutstein_april_2025
Old Rutstein: Commander Deck Introduction
Ol’ Rusty is 1/4 Golgari commander for 3 mana. When he enters and on your upkeep, he mills you 1 card. If that card is a creature, he gifts you a 1/1 insect. Lands get you treasures. Everything else, you get a blood token.
This deck’s main strategy is to mill powerful creatures into the graveyard and reanimate them. Ideally those creatures create token creatures, which can then be sacrificed for more reanimator loops, or to drain opponents’ life totals down with cards like Syr Konrad, the Grim or Zulaport Cutthroat.
A lot of reanimator decks rely on big ETB or death triggers in a loop to win. Think of Gray merchant of Asphodel – looping him 3-4 times is likely going to end the game in your favor. That’s actually the goal of my budget Oathbreaker Tyvar deck – and is a viable end goal for any reanimator deck. This deck’s goal is similar, but it doesn’t necessarily need one specific creature to reanimate – many of them have their own unique abilities that can drive you towards victory. However, a few of the big token generator creatures can really accelerate your gameplan.
Without reiterating too much on my blurb about Old Rutstein during my 2024 deck performance review, I had a few earlier iterations of Old Rutstein that didn’t perform super well. Originally he was a collection of leftover cards from when I was trying out Glissa, the Traitor as a self-mill commander. Some cards performed well, others – not so much. However, leaning into more token sub-themes and more non-creature reanimator spells, Old Rutstein has become a powerhouse, boasting an incredible 8-0 streak in 2024. I made a number of changes to the decklist since 2024 to solidify that lists’ undefeated status. This year, so far we’re at 6-2, although 2 of those victories are against The Mindskinner decks, which is kind of like cheating. You’re going to turbo mill me? Thanks man! No complaints here.
The tricky part of this deck is balancing all of the sub themes: Self mill, sacrifice & death triggers, reanimation spells, token creation; all while maintaining enough ramp, card draw and interaction to survive into the mid and late games. Let’s dive into the various themes!
Self Mill: Cards & Payoffs
Self mill reanimator decks intend to use their graveyard as a second hand, so we’ll need cards that actually fill the yard. Rusty gets you one card a turn – not nearly fast enough for today’s fast paced games.
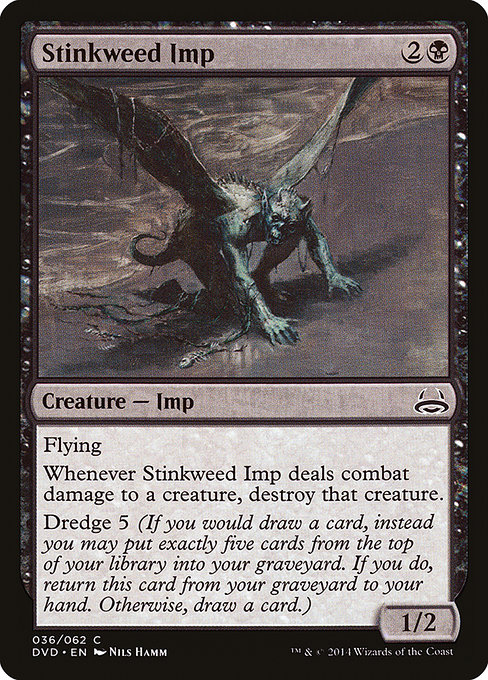
Before talking about the more general options, it should be noted that any Dredge card is amazing in an Old Rutstein list. This is because Rutstein generates blood tokens – you can activate your blood token by discarding a dredge card, but instead of drawing a card, you can dredge the discarded card back to your hand. For example, with a Stinkweed Imp in hand, you can pay 1, discard stinkweed imp, sacrifice the blood token in order to mill 5 and bring stinkweed imp back to hand. There are a few Dredge cards in Golgari but I’ve only included the Imp for now to keep an eye on the power level.
Aftermath Analyst is really quite incredible in this deck – she’s only two mana to mill you three, so she can come out on curve before Rutstein. But she also has Splendid Reclamation as an ability that can be activated at instant speed. Splended Reclamation effects have an incredibly high ceiling, with some decks using it to bring back 20+ lands. However, you don’t need to wait for an explosive activation in order to stay ahead on mana. Think Skyshroud Claim or Explosive Vegetation – four mana gets you 2 lands. So any more than that puts you ahead of the going rate for ramp. Plus, there’s a pretty decent chance you’ll reanimate her later anyways!
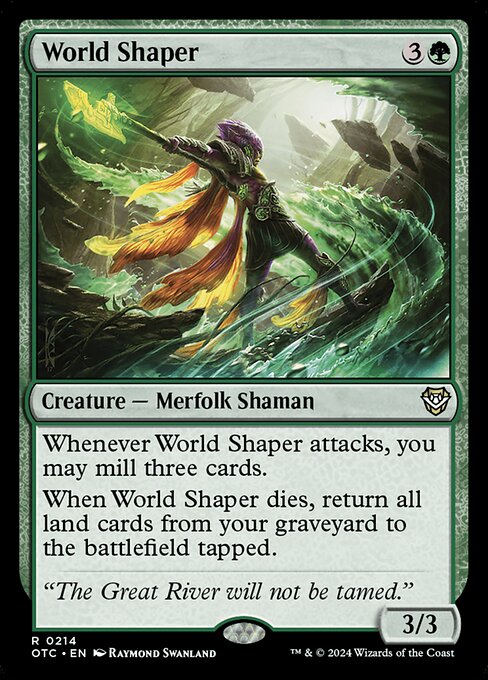
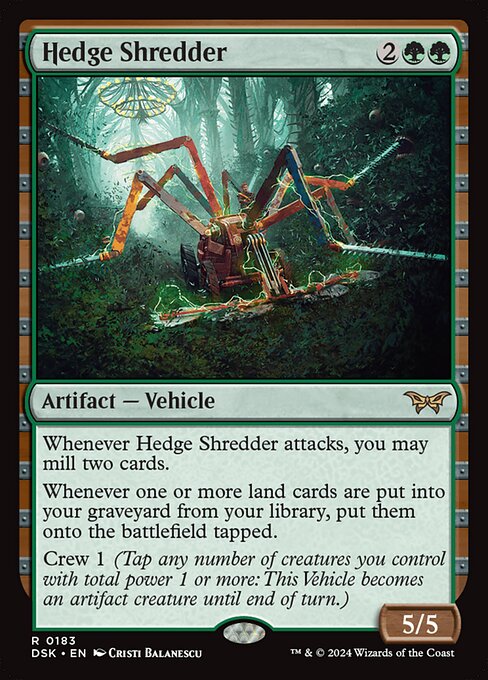
On the topic of Mill To Ramp, Hedge Shredder just puts all lands you mill on the the battlefield tapped. If you get this out early, this can easily net you 8+ lands in a game. While not in my current decklist, World Shaper is a natural fit in this style of deck.
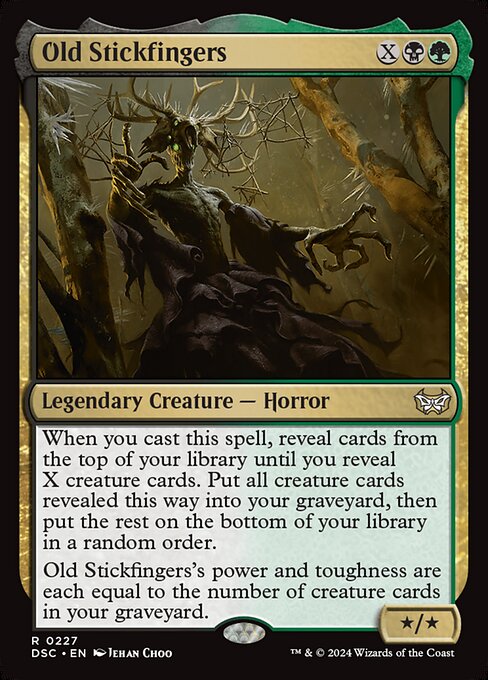
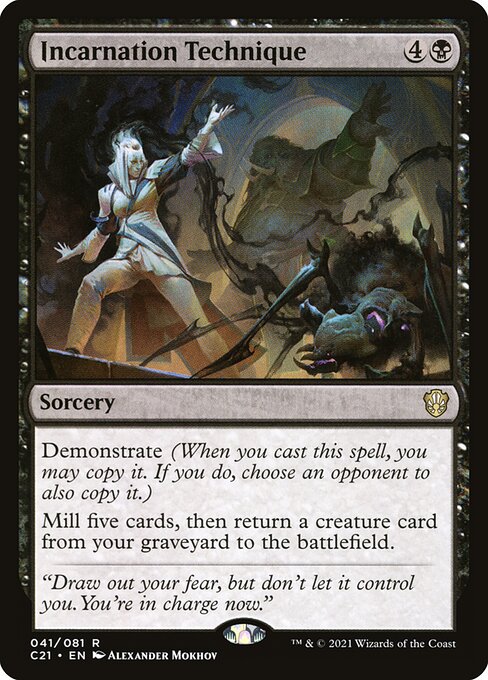
Old Stickfingers and Incarnation Technique are some of the bigger mill spells in the deck. Stickfingers can throw a ton of cards in the yard depending on what you spend for X, while Incarnation Technique can put 10 cards in and pull 2 out. Keep in mind Incarnation Technique doesn’t require you to reanimate one of the 5 milled cards – you can bring back any creature card in your graveyard. Sure, you have to allow an opponent to do this once – but unless everyone is playing Dinos or something, there’s probably a player out there who isn’t playing giant creatures – pick them!
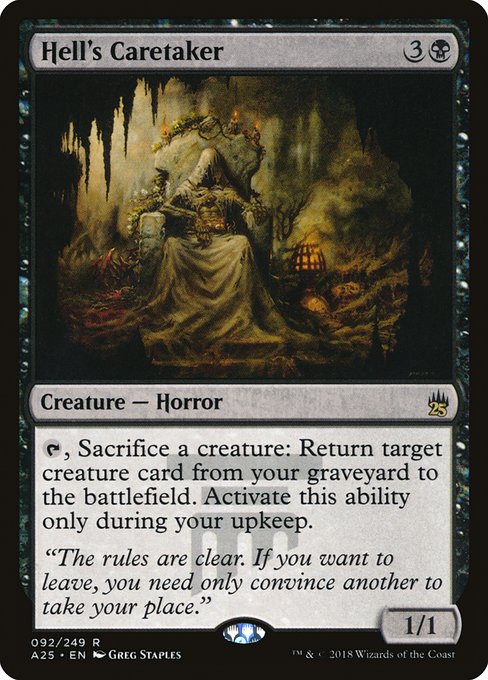
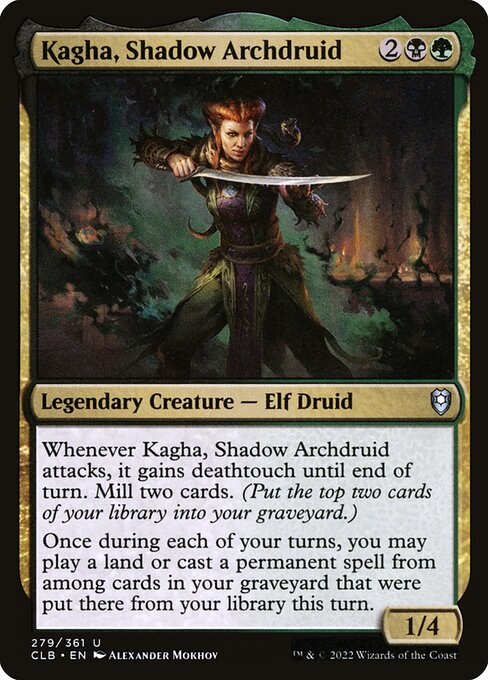
While not the most powerful potion, I’ve always enjoyed running Kagha, Shadow Archdruid in this deck. She does ask you to be patient before playing lands or spending mana – make sure you’ve milled everything you intend to mill before making a decision on what to play. This means you need to basically skip your first main, go to combat and swing with her so she mills you some, then you decide what to do on your second main. Going to miss a land drop? Play one you milled instead. Milled a cool repeatable renaimator permanent like Hell’s Caretaker? Kagha will let you play it that turn.
Perpetual Timepiece mills you two cards a turn but more importantly is a way to save your graveyard from a Bojuka Bog or other graveyard hate effects. Honestly, losing your yard does suck, but it’s not the end of the world. You still most likely have 60% or so of your deck to go through and there will be cards in there that keep your gameplan alive. There isn’t a single card in this deck that you are required to play to win.
Broodheart Engine, Nyx Weaver, and the incredible Polluted Cistern each both mill you and provide you a way to reanimate a creature or get a card back to hand. Really want to highlight Polluted Cistern – it’s going down in price and can absolutely do 10-20 damage to your opponents in a game for just 2 mana. And it you can reanimate something later? This card is incredible.
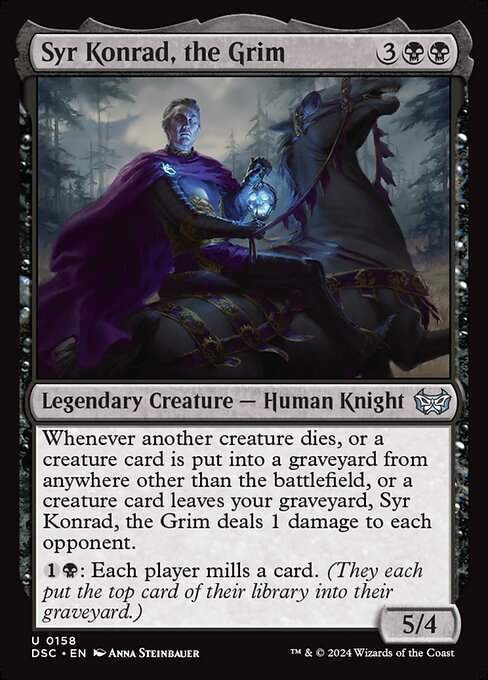
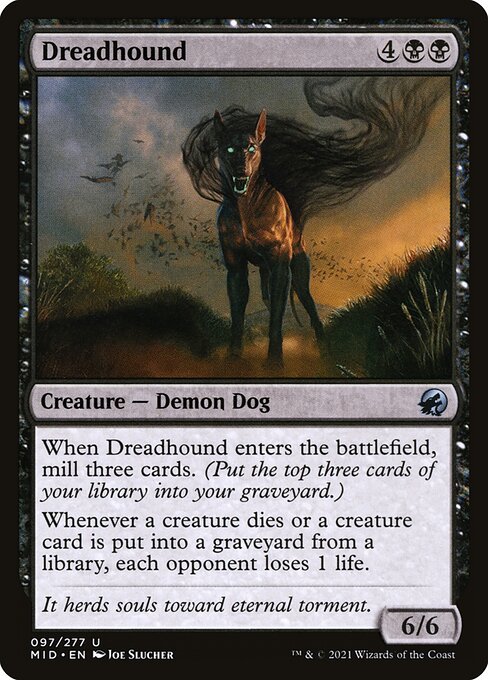
On top of Polluted Cistern, Syr Konrad, the Grim and Dreadhound are some of the most potent cards in the deck. They trigger off creatures being milled or dying – they don’t even need to be your creatures! Konrad even pings when you pitch a creature to your blood tokens, or when you reanimate creatures from your yard. And yes, 5 and 6 mana for these spells is quite expensive – not to worry, you’re most likely bringing these back from the graveyard on the cheap instead of hard casting them.
Speaking of reanimating creatures…
Reanimating Creatures
Black loves to reanimate, it’s one of the cornerstone abilities of the black color pie. This whole strategy started from the card called Reanimate which, while it isn’t in my deck, absolutely could be and would be a natural fit. Same with cards like Animate Dead or Necromancy. However, most of the reanimation spells you’ll find in my deck list are repeatable, or cheaper dollar-wise than some of the older classics.
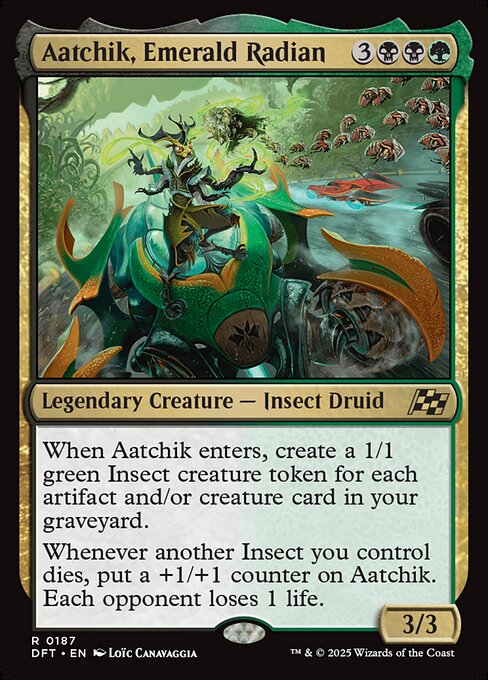
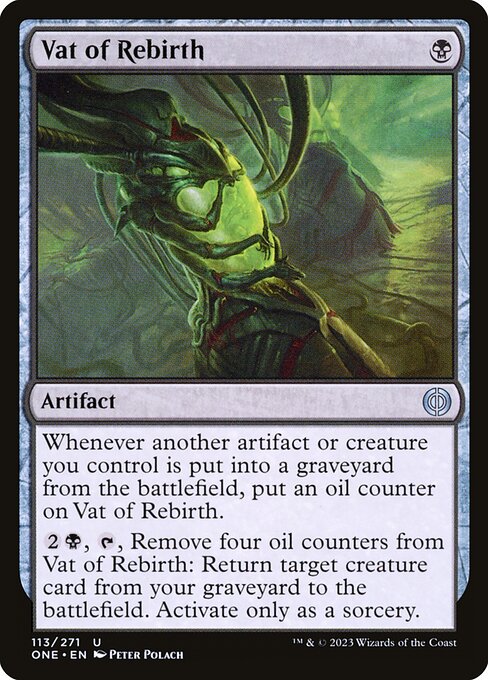
Vat of Rebirth, Altar of Bhaal and Hell’s Caretaker are all incredible in this deck, especially with Old Rutstein giving off tokens that fuel these three cards. Vat of Rebirth gets oil counters whenever creatures or artifacts go the yard – which include all 3 types of tokens Rusty creates. Altar of Bhaal can exile a token (or non token, more rarely) to reanimate something once a turn for 3 mana. Hell’s Caretaker brings something back during your upkeep, but also can sacrifice those Insect tokens or other tokens you may have. Sometimes you’ll sacrifice token generators like the new Aatchik, Emerald Radian instead – just so you can reanimate them on your main phase and create a ton more tokens once more.
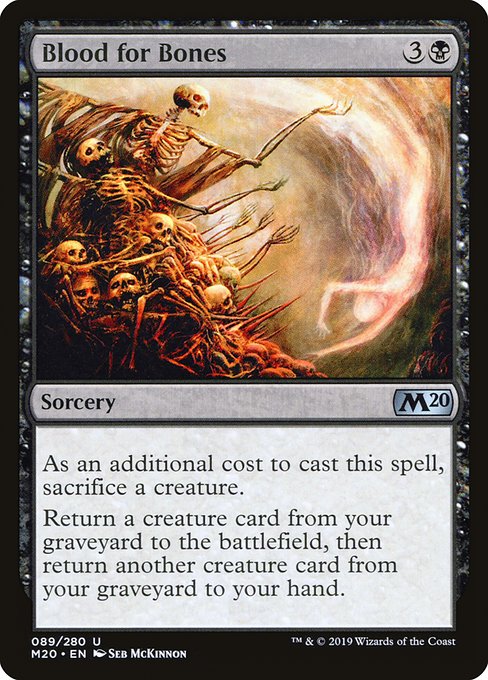
Speaking of bringing back and sacrificing token generators – Wake the Dead can be incredible in this regard. Reanimate a few creatures for cheap, generate a ton of tokens, get a bunch of ETB triggers, then sacrifice them at the end step for all those death triggers. Blood for Bones is also great at this -this card doesn’t target, so you can actually sacrifice the creature on cast you intend to bring back when this spell resolves.
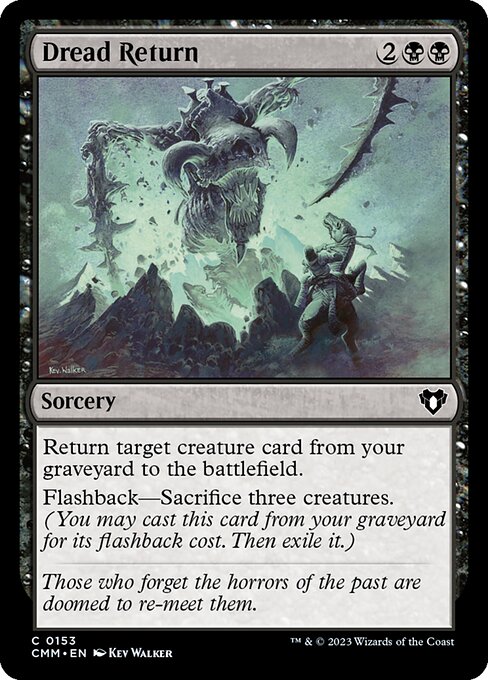
Dread Return is an instant classic, not only allowing you to reanimate at a ‘fair’ rate (reanimation spells in standard these days are not less than 4 mana, so that’s what I consider the current ‘fair’ rate), but also allowing you to cast it from your graveyard by sacrificing three creatures. If you milled this card, no sweat – you can play it from your yard. You can sacrifice tokens or non tokens to this. Unlike Blood for Bones though, you cannot target what you sacrificed to flashback this spell, since you would need to pick your target while casting.
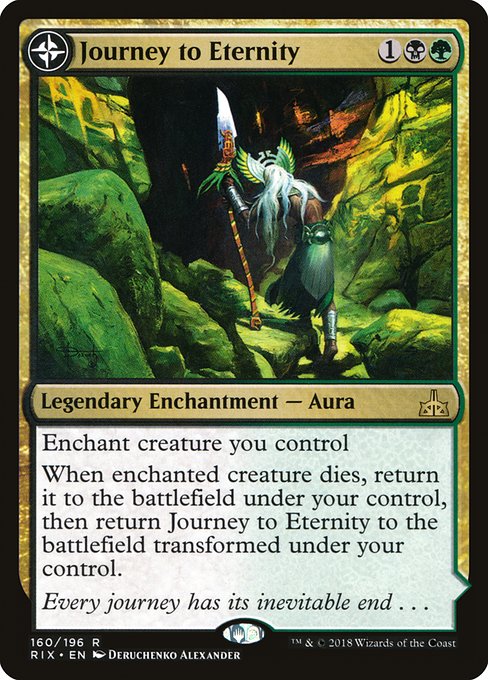
Journey to Eternity, while relatively expensive price-wise, performs very well in this deck. Not only do you get to bring back the creature that was enchanted with this for free, when it flips you have an instant-speed reanimation ability on a land.
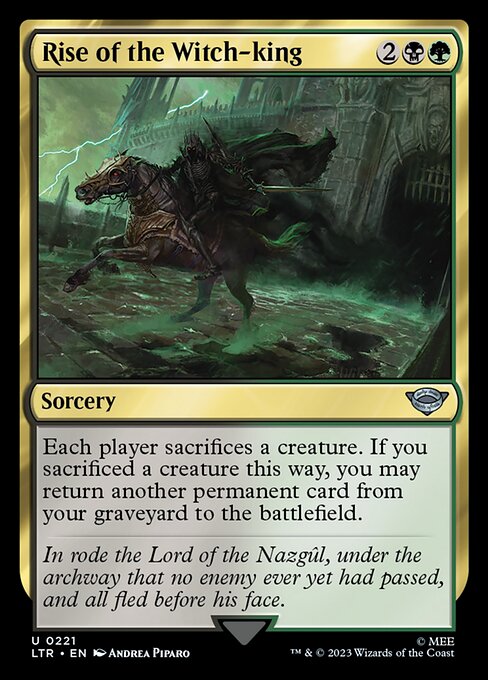
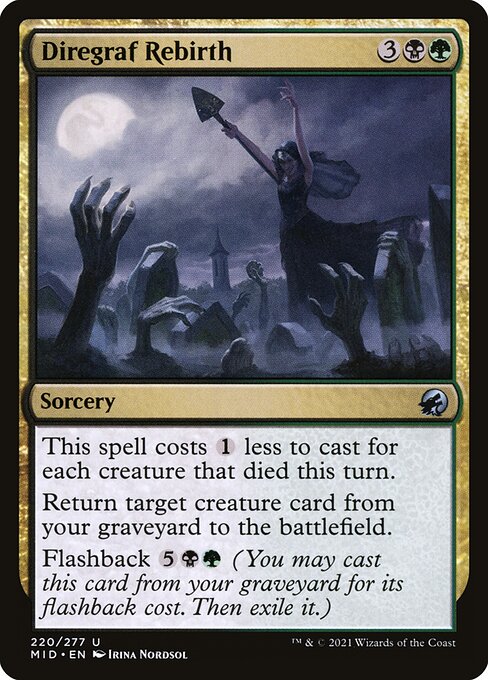
Rise of the Witch-king reanimates, sacrifices and counts as interaction as it will force your opponents each to sacrifice a creature. Diregraf Rebirth usually only costs 2 mana to cast or to flashback, as it’s most valuable to play when you’re in the middle of a token-sacrificing loop with your reanimation spells. Victimize is honestly incredible, allowing you to bring two creatures back only having to sacrifice one.
The most expensive card in the deck, the original Sheoldred, Whispering One can be quite crippling, especially if you get this card out early. This card pairs quite well with Hell’s Caretaker, but keep in mind that you must target a creature in your yard on your upkeep with Sheoldred – you cannot sacrifice something with Hell’s Caretaker and bring it back with Sheoldred on the same upkeep. This deck absolutely does not need Sheoldred though, so if you are running on a budget, this is one of the cards you could replace with a more modest option. 7 mana is a lot to pay – but you’re unlikely to pay it, as all the high CMC creatures in this deck are typically reanimated more than they are hard casted.
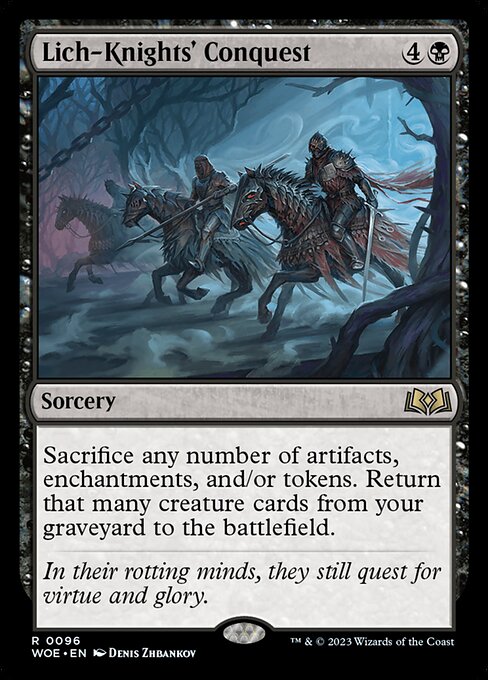
Lich-knights’ Conquest and Living Death are the big mass reanimator spells in this deck. Lich-knights’ is cool tech in this deck since you can sacrifice all 3 of Rusty’s tokens, or any other tokens you’ve generated, to bring back a bunch of creatures. While not super applicable to this deck, this card does allow you to sacrifice non-token artifact creatures and enchantment creatures and bring them back with the same spell resolution. Living Death is one of the classics in this strategy, especially if you sacrifice your whole board before casting it, turning it into a one-sided board wipe. Careful though, having this spell counterspelled could ruin your plans, so sometimes it’s best to hedge your bets against blue players and only sacrifice half your board before casting this.
On the topic of sacrificing your whole board…
Sacrifice Outlets
Sacrifice outlets are best when they don’t cost you mana and we run a number of those types of cards in this deck. Without a doubt, the strongest two sacrifice outlets you could play are Phyrexian Altar and Ashnod’s Altar, even Altar of Dementia would be a strong include in this deck. However, I don’t include any on this list to power the deck down a little – however, if you have them, they are absolutely going to do work in this type of deck.
The sac outlets we do run:
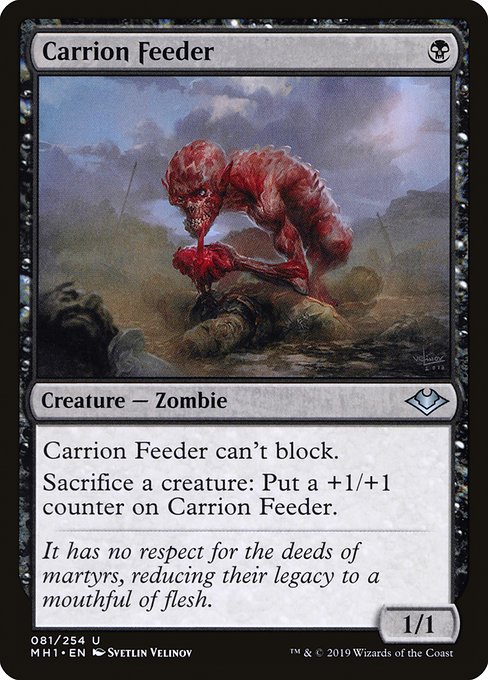
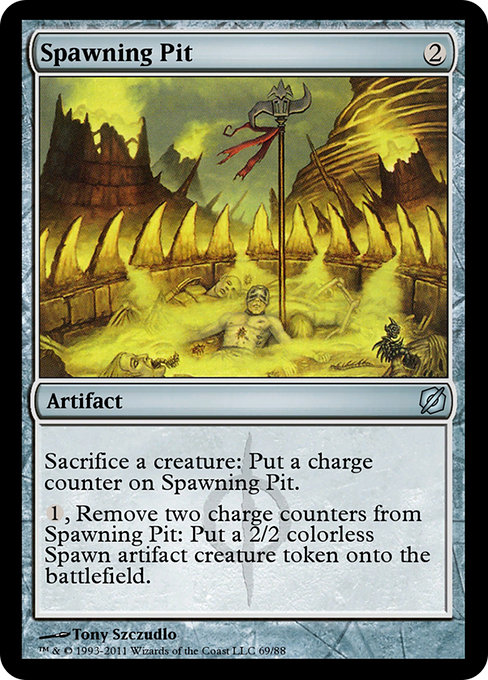
Carrion Feeder, Spawning Pit, Woe Strider and of course the classic Viscera Seer are the free sac outlets we run. Noteably with Woe Strider he can be cast from your yard if milled, making him incredibly potent despite the higher-than-average 3 (or 5) CMC you need to pay for the effect. There are of course likely a couple dozen other free sac outlets that you could run but these are the ones I had and it’s been working well for me. Spawning Pit is cool tech too, as it can churn out tokens for you to chew on later.
Free Sac Outlets are honestly busted – they are instant speed allowing you to respond to so many types of interaction. Swords to Plowshares one of my creatures? Actually, I’ll put it in my graveyard and reanimate it later. Sunfall? More like Graveyardfall. Ashnods and Phyrexian Altars are also mana abilities, which is even more broken – you can cast a split second effect like Krosan Grip on something, hold priority and then sacrifice stuff to those two altars to get a bunch of triggered abilities that your opponents cannot respond to (with some very limited exceptions) due to the split second spell on the stack. Ever wonder why Radiant Lotus says ‘Target Player?’ It’s not because it’s secret Yurlok of Scorch Thrash tech, it’s because if an ability targets, it does use the stack even if it generates you mana, so it prevents this type of absolute bonkers interactions the original altars still enjoy.
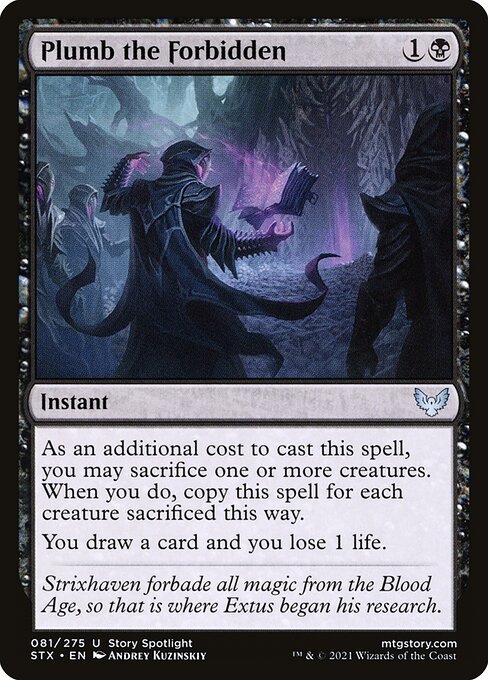
Plumb the Forbidden is an instant speed sac outlet as a spell, which can be quite versatile. It also draws you a ton of cards (at the cost of life) but for two mana it is absolutely worth playing. Disciple of Bolas allows you to sac a creature when entering, drawing you cards and gaining you life equal to that creature’s power. This is particularly nice with mass reanimators – maybe you want your token generator back in the graveyard.
While slow, Braids, Arisen Nightmare is a great fit in this deck, since you tend to have so much disposable stuff to sacrifice for her end step trigger. People also really fear Braids, as they should, and tend to use removal on her – which actually just ends up in our favor since she really isn’t part of any main loops in the deck.
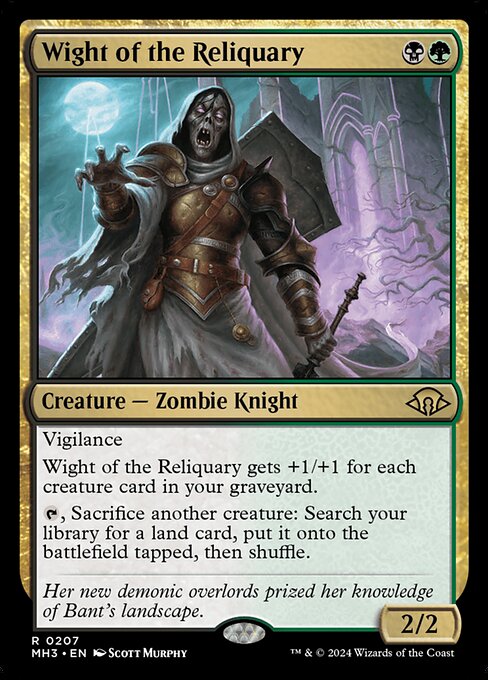
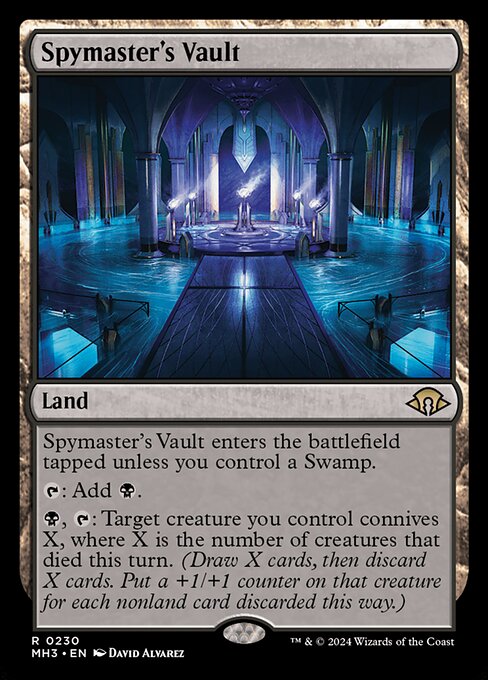
Wight of the Reliquary taps and sacrifices another creature at instant speed to find any land and put it on the battlefield. There aren’t a ton of land-based schenanigans in this deck, but if you’re about to miss a land drop you can go grab Golgari Rot Farm with this ability, bounce another land to hand, then play that to stay on top of your land drops. Or get a Spymaster’s Vault to set up for a big surveil later in the game. Maybe you have a Field of the Dead and are leaning more into the splended-rec gamplay. There are options!
We’ve already covered some of the other sac outlets in the reanimator section – Victimize, Dread Return, Lich-knights’ Conquest, Hell’s Caretaker – one of the most fun parts about deck building is finding these types of cards that fit multiple of your subthemes at once.
Self-mill, self-sacrificing and reanimating is only about half the puzzle. We still need to cover death payoffs and ways to maximize those payoffs by generating a ton of tokens on ETB. Ready for death’s reward?
Big Token Generators
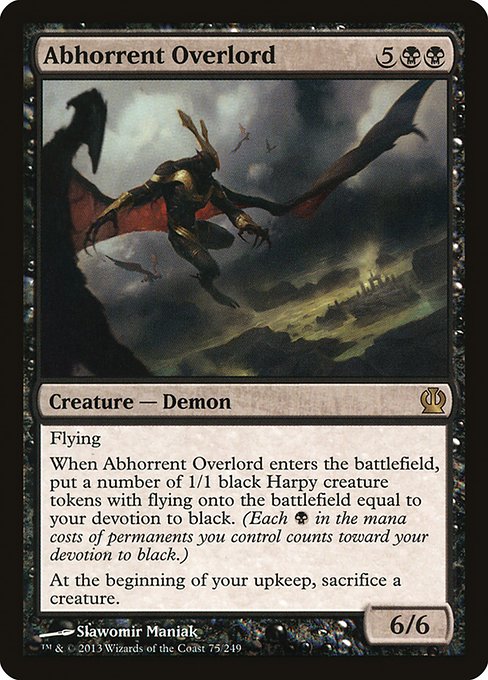
One of the most reliable win conditions in this list is to repeatedly reanimate big token generators to either sacrifice them all for board ping damage or to attack with them. The biggest two closers in this regard are Abhorrent Overlord and Aatchik, Emerald Radian. The Overlord also allows you to sacrifice him to himself on your upkeep to bring him back later. Unlike Sheoldred’s upkeep reanimation, this can be done on the same upkeep you bring him back with Hell’s Caretaker. You could sacrifice the Overlord to his own trigger first, and then sacrifice one of his harpys to Hell’s Caretaker to bring him back, getting you a whole new set of harpies.
Aatchik is kind of bonkers in that he is his own pinger – meaning, when his insects (or any other insects, like Rutstein’s) die, he will deal board damage. This makes him a natural fit in the deck as he requires one less card to close out games.
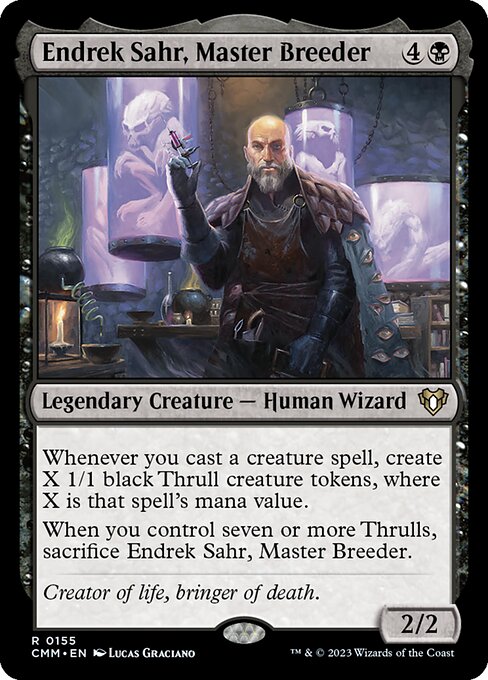
Other than that, the other token generators in the deck do so more slowly. Endrek Sahr, Master Breeder doesn’t generate them on ETB but when you cast them later. But he can generate a lot of tokens over the course of the game, which is why he stays in the deck for now despite being somewhat off-theme. Lord Skitter, Sewer King gets you a rat each turn and also does some graveyard hate.
And of course, Rutstein also gets you one token each turn. A reminder – use your blood tokens to get your expensive reanimator targets out of your hand and into your graveyard!
Ping Damage & Death Triggers
The cards that deal board damage (typically via death triggers) are the final piece to the complex puzzle of self mill renaimator. You’ve filled your yard with scary creatures, you can reanimate them, you can sacrifice them, you can do it all again; time to turn that cycle into a win.
As previously mentioned, the most perfect two cards in this category are Syr Konrad, the Grim and Dreadhound. These ping off of mill and death, they ping off anyone’s creatures, and Konrad even pings when you reanimate or when you discard creatures. These are the scariest creatures that can be on your board as it can signal the end is nigh. We also discussed how potent Polluted Cistern is.
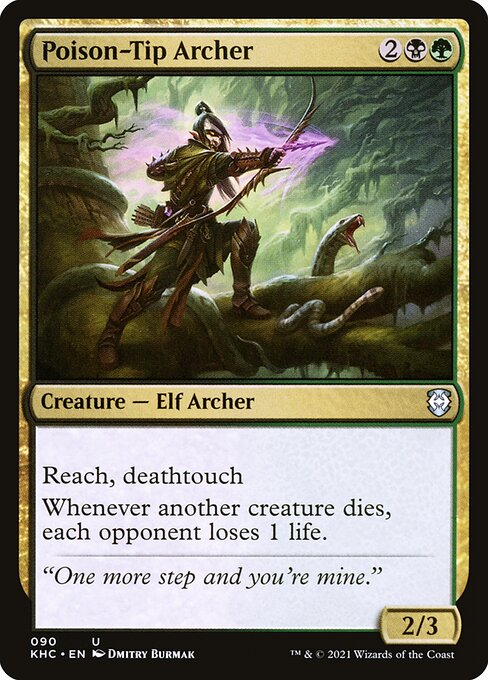
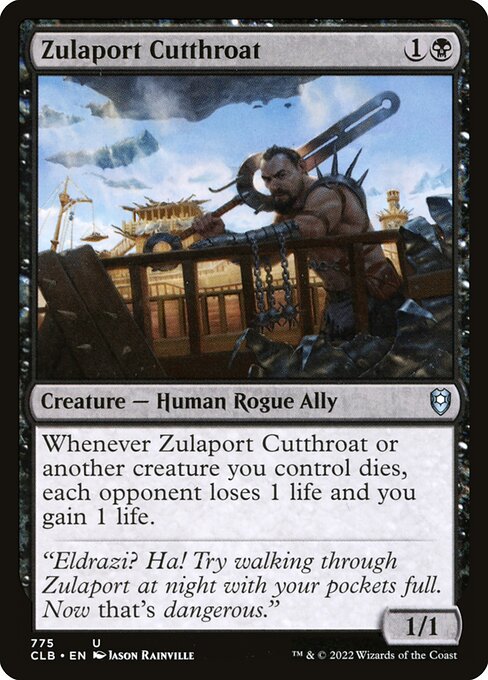
Zulaport Cutthroat, Bastion of Remembrance, and Poison-Tip Archer all ping when your creatures die, sometimes when your opponents’ creatures die.
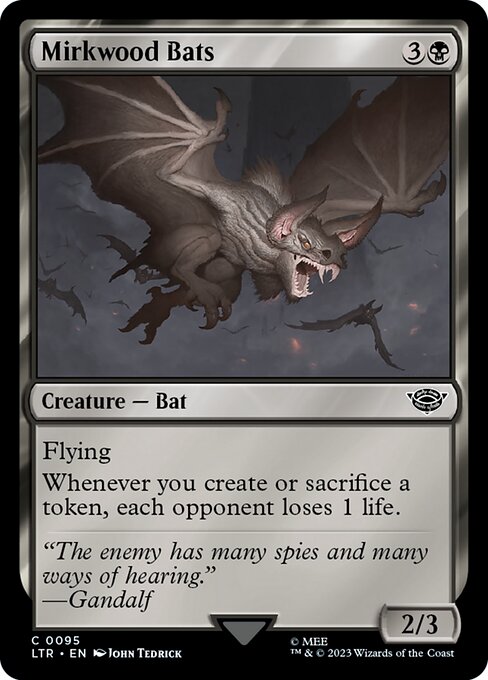
Mirkwood Bats deals damage every turn when Rutstein is out, but can especially wreck a group if you’re looping Abhorrent Overlord or Aatchik, Emerald Radian or getting and sacrificing thrulls off of Endrek Sahr. Aatchik also pings when insects die.
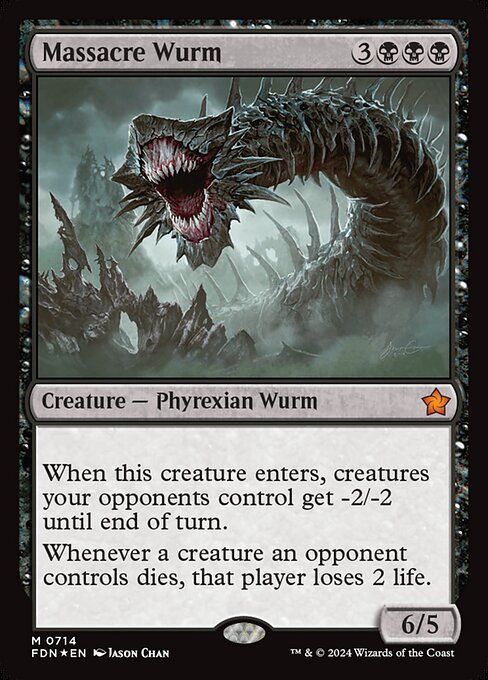
Lastly, Massacre Wurm is a mini boardwipe on ETB and punishes opponents when their creatures die.
That’s really it! The deck does take some practice to run but that’s the general cycle you’re looking for. Let’s discuss some cool tech with the deck that you can utilize outside of the standard loop.
Secret Tech
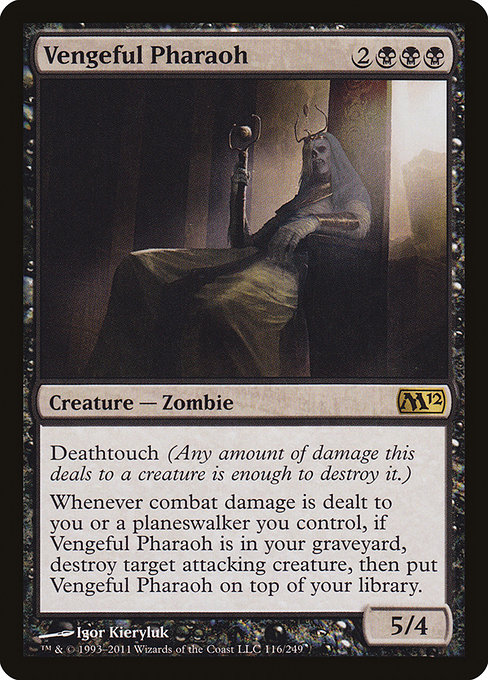
One of my favorite finds for this deck is Vengeful Pharaoh. Having this card in your yard makes it so you can destroy a creature that dealt damage to you, then the Pharoah goes on the top of your library. But then Rutstein will put it right back into your yard on your next upkeep, giving you an insect for your trouble. Or if somehow you ended up drawing it, just pitch it with a Blood token!
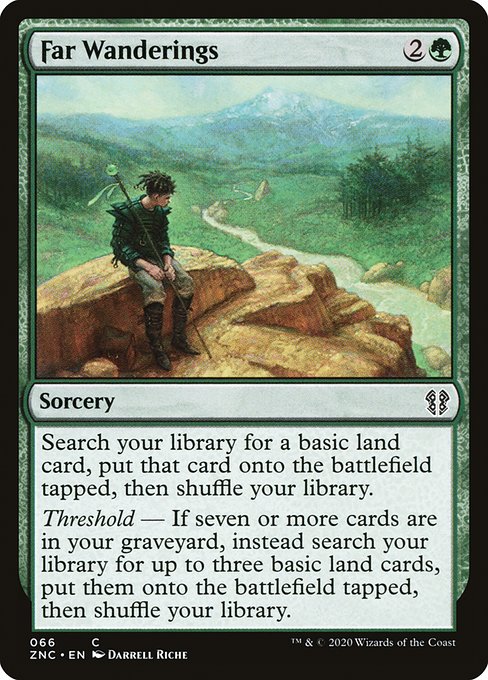
Far Wanderings is a cool card that ramps you significantly above rate (3 lands for 3 mana) if you meet threshold. It is a bit of a weird card to use, since most decks tend to want to ramp early and this one wants you to ramp late. Ramping later in the game costs you some mid/late game tempo, so it can be tricky to use.
Culling Ritual This card used to be more expensive but it’s quite affordable now and it’s a blowout almost every time I play it. It triggers almost every death trigger in the deck, blows up everyone else’s 0-2 cmc permanents, and gives you a bunch of mana for your trouble.
Idol of Oblivion – For two mana, you draw an extra card each turn since Rutstein generates a token each turn. What’s not to like?
Case of the Stashed Skeleton – I’m generally conflicted on Black tutors since they’re so powerful (and the best ones are aptly marked Game Changers). If I decide to run them, I’ve in the past run some of the less optimal ones – like Profane Tutor or Diabolic Tutor – but usually end up cutting them anyways. My latest experiment is Case of the Stashed Skeleton for Rutstein. It’s actually kind of a bad card, best case scenario you can tutor the turn after you play it but you’re still paying a total of 4 mana for your trouble and you have to jump through a number of hoops to get there. Still though, it makes a token and it’s kind of cute, so it’s in the deck for now.
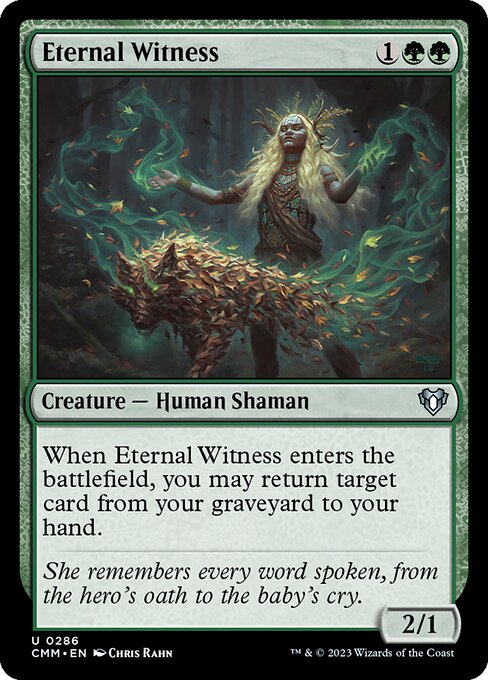
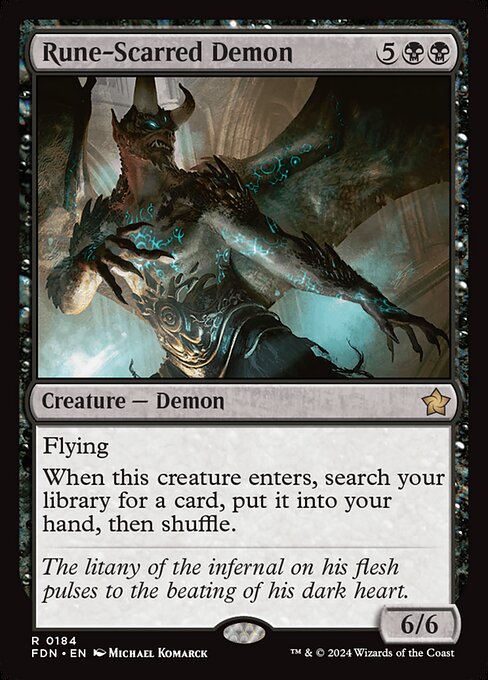
Note that Rune-Scarred Demon is in the deck, with a tutor effect ETB. For 7 mana that’d be a lot, but again, who casts these creatures? Not you! Reanimate them instead. Also shout out to Eternal Witness, which is also honestly a busted card in many situations. In this deck, her busted situation is bringing her back with a Living Death then bringing Living Death back to your hand with her ETB.
End Step
Well folks, that’s enough durdling in the dirt for today. Hope you enjoyed this tour of some of MTG’s most iconic Golgari strategies – milling yourself, using your graveyard as a second hand, sacrificing your own stuff for value and as a win condition, reanimating your creatures and more. Hopefully some of these cards make it into your Sultai deck upgrades.
What are your favorite self-mill reanimator cards? Drop them in the comments!











2 thoughts on “Self Mill Reanimator: Secrets of Old Rutstein”